


How to Catalog Your Books Quickly & Easily - Using the Goodreads App Online!

Please tell me I'm not the only one who has bought double books before? o.o *hides in a corner* Are your book nerd habits just as bad as mine? :| If you said yes, then you know #thestruggle and it's very real! Well, to fix this issue I've started saving my books to my Goodreads app (which I'm still in the process of finishing - what can I say? I own a million books! lol...). Anyways, read on if you want an in-depth tutorial on how to keep track of the books you own in a quick and easy manageable way!

Step 1
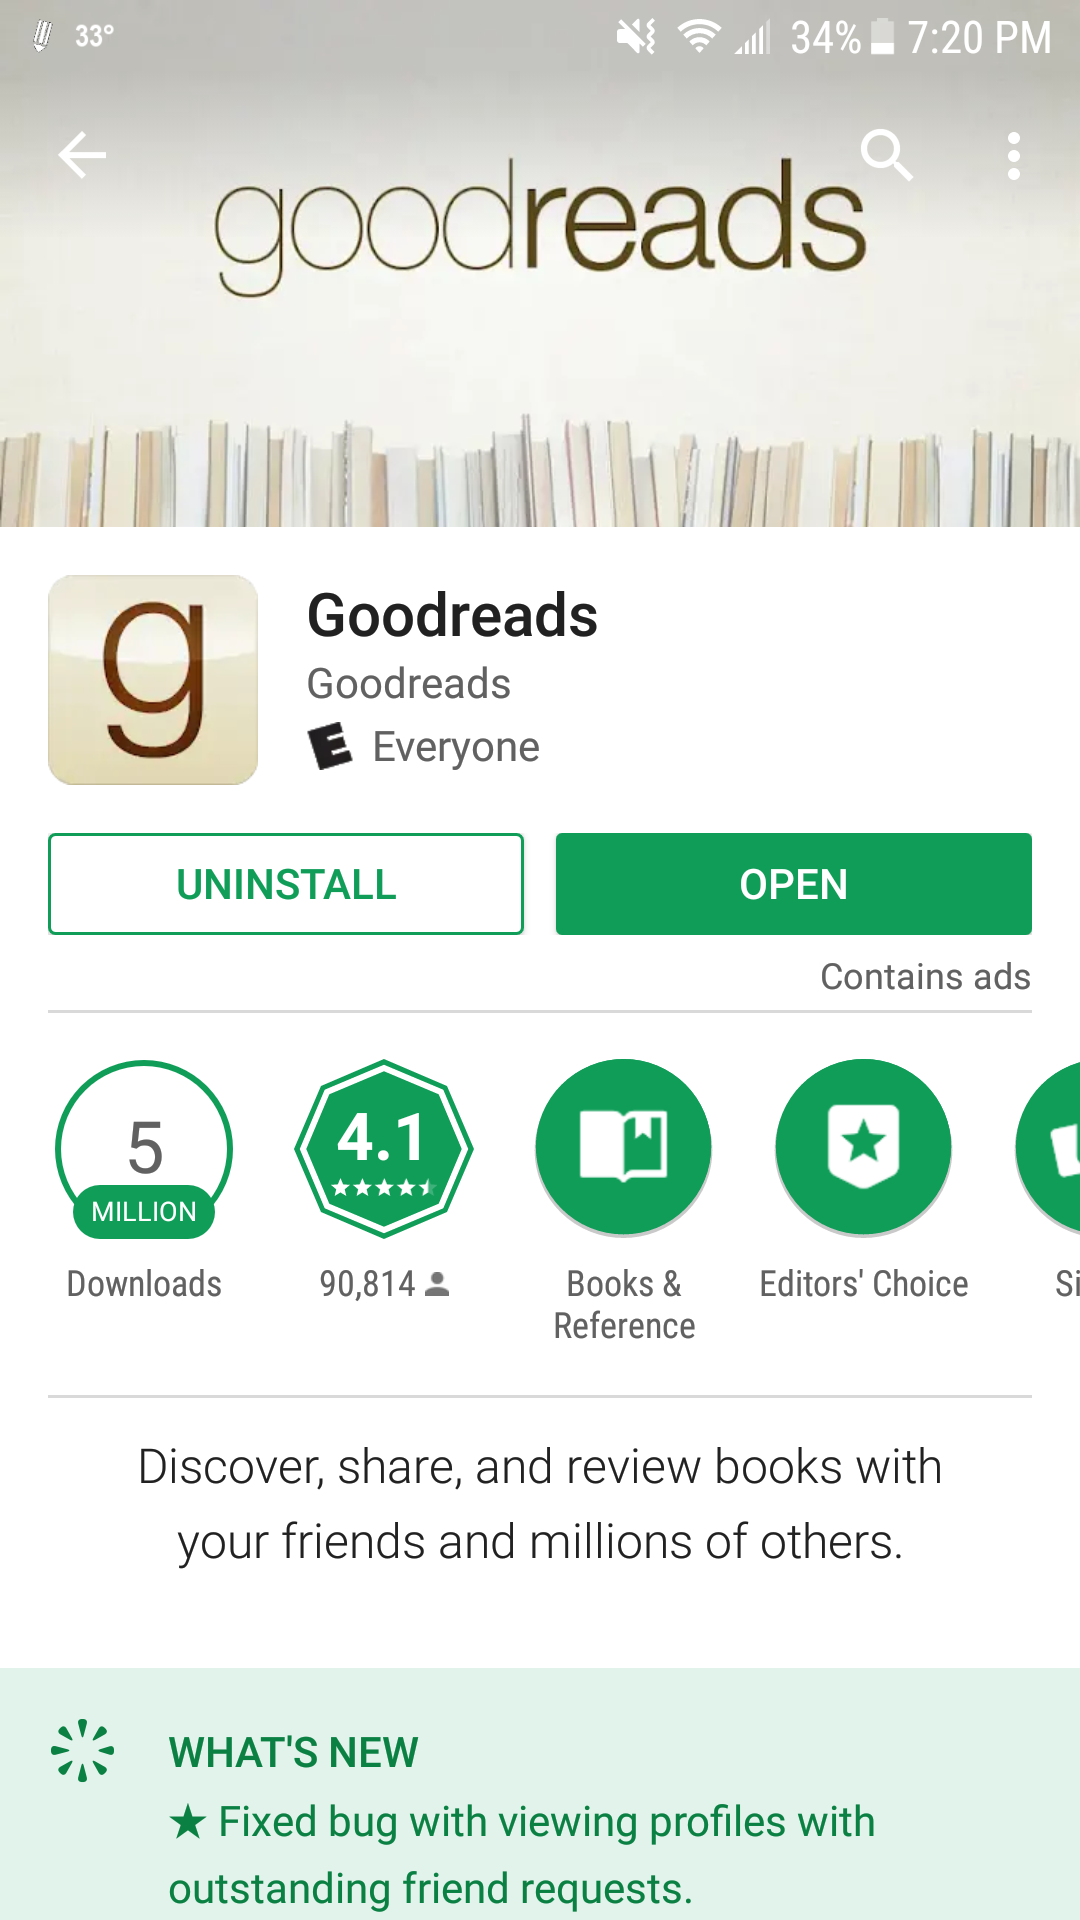
If you haven't already downloaded the Goodreads app onto your smartphone go ahead and do so. And yes, it's available for both Androids and iPhones via the Play Store and iTunes store! :)
Step 2
Click below for the link via the Google Play Store and click "install".

Step 3
After you've installed the app, go to the upper left hand corner and click the three line icon menu beside "Updates".

Step 4
Next we're going to click the "My Books" tab to take you to your list of books and bookshelves.

Step 5
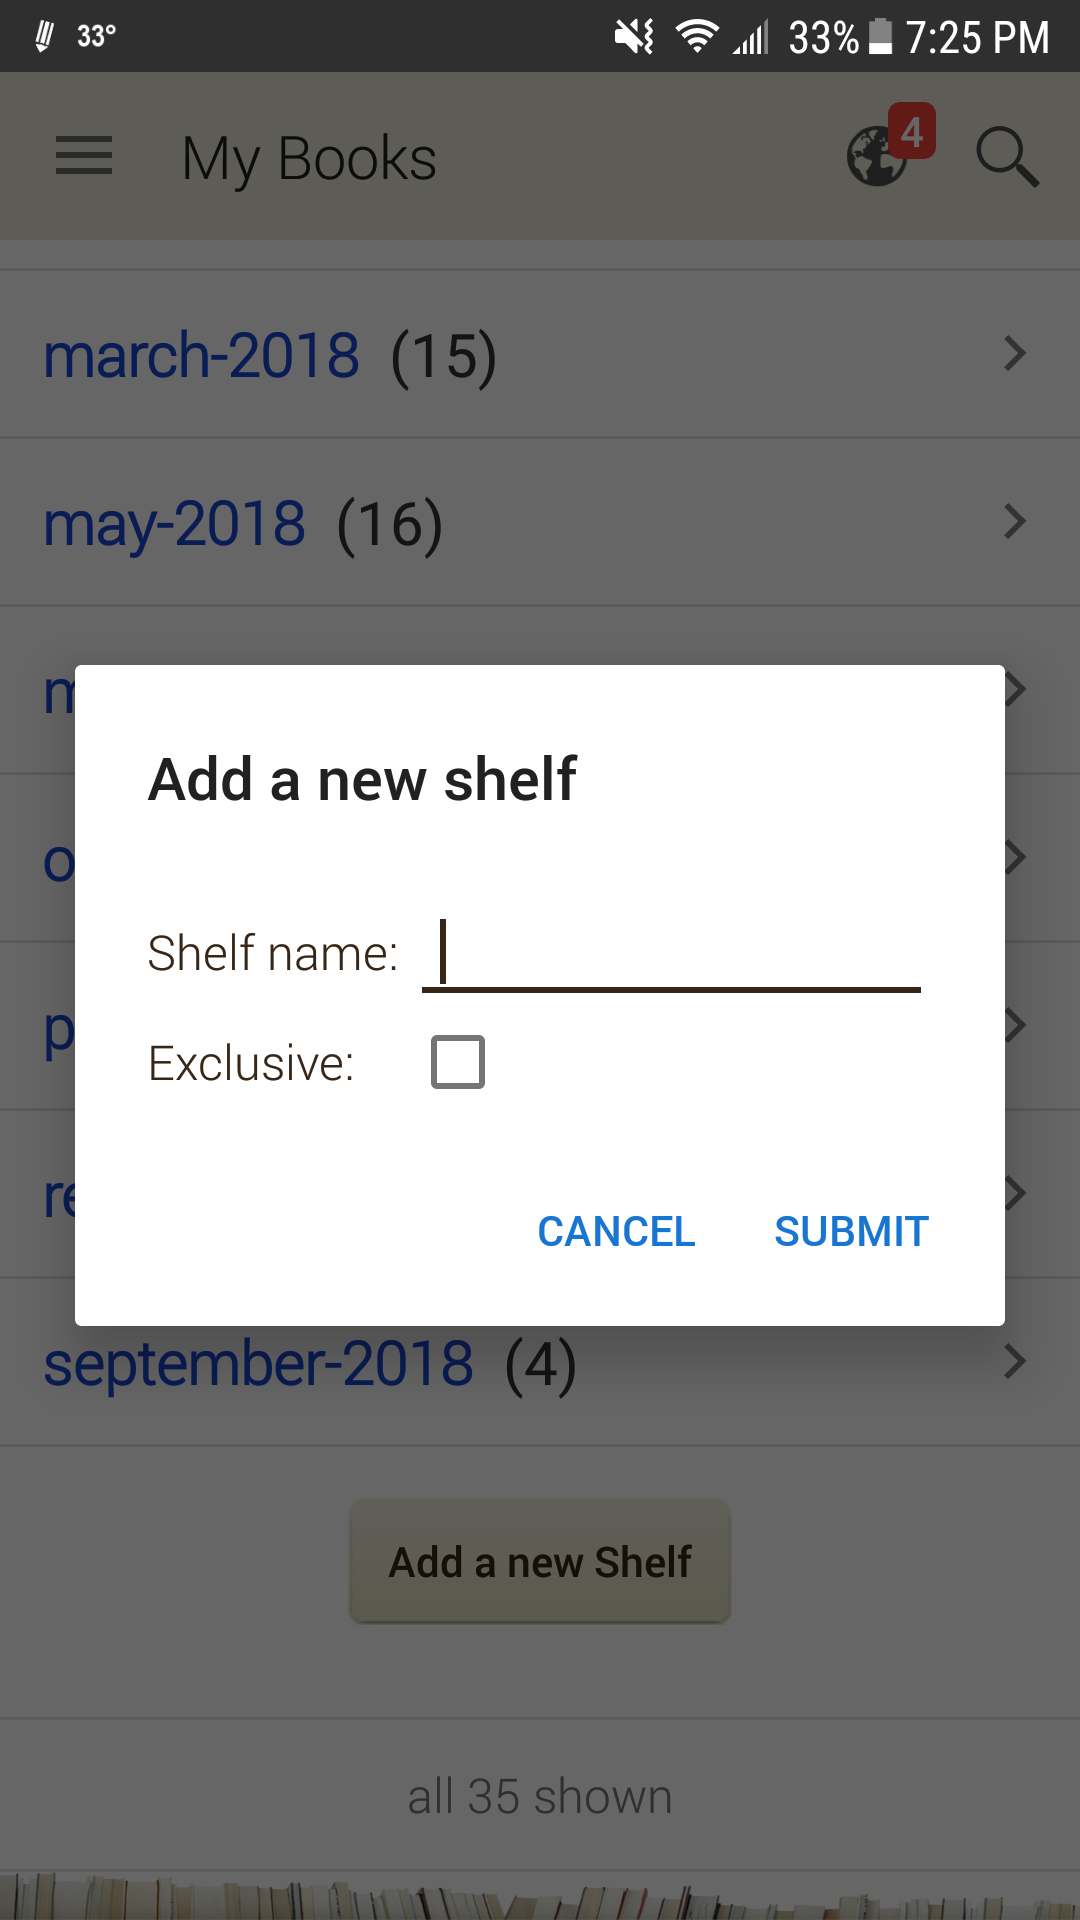
Scroll to the bottom of the list (if you need to do so) and click on the tan button labeled "Add a new Shelf".
Step 6
Go ahead and name your shelf whatever you'd like. I went ahead and simply named mine for the books I "own" and then click "SUBMIT".

Step 7
Now click on the three lined menu icon again.

Step 8
Click on the "Scan Books" tab (the fourth item on the list).

Step 9
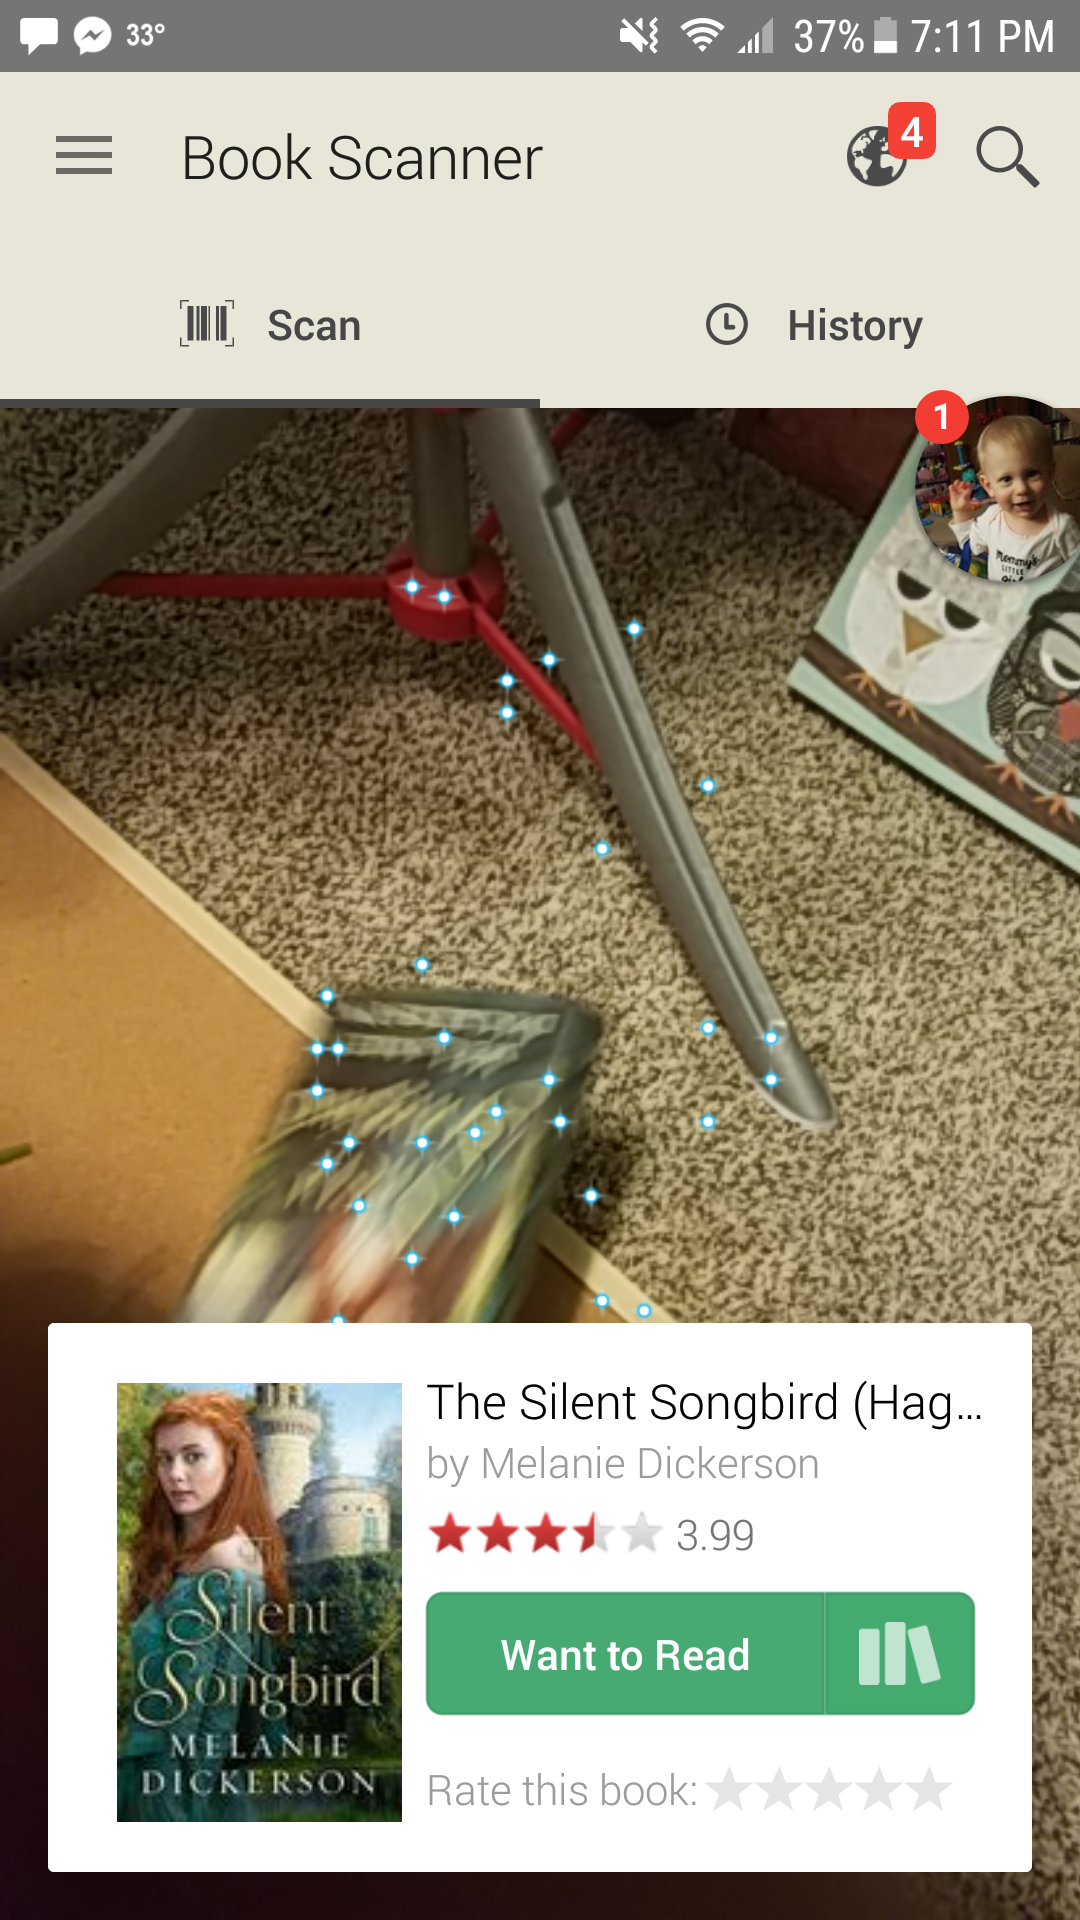
Do you see those majestic tiny blue diamonds all over your screen? That's your "scanner" attempting to identify the book.

Option 1
There are two ways you can scan a book. The first option (which is the easiest) is to scan the front cover of the book. Simple enough. Funny thing is I figured this out by accident! Haha!

Option 2
This is the more time consuming option, but sometimes a book doesn't register with the Goodreads app with its cover. In this case you would scan the barcode found on the back/bottom of the book.
One of two things will happen after you've successfully (or unsuccessfully) scanned a book.
Outcome 1
If the scanner registered the correct book you will get a box to pop up at the bottom of the screen with the book image and description. Note: Don't worry about shelving this book yet - I'll show you a faster and easier way to do this later. ;)

Outcome 2
If the app is unsure of which book you've scanned the pop up box will show up in the middle of the screen prompting you "Is this your book?" If the answer is no, click "NO" and re-scan the barcode of the book. If it's the correct book, click "YES" and continue to scan the rest of your books.

Step 10
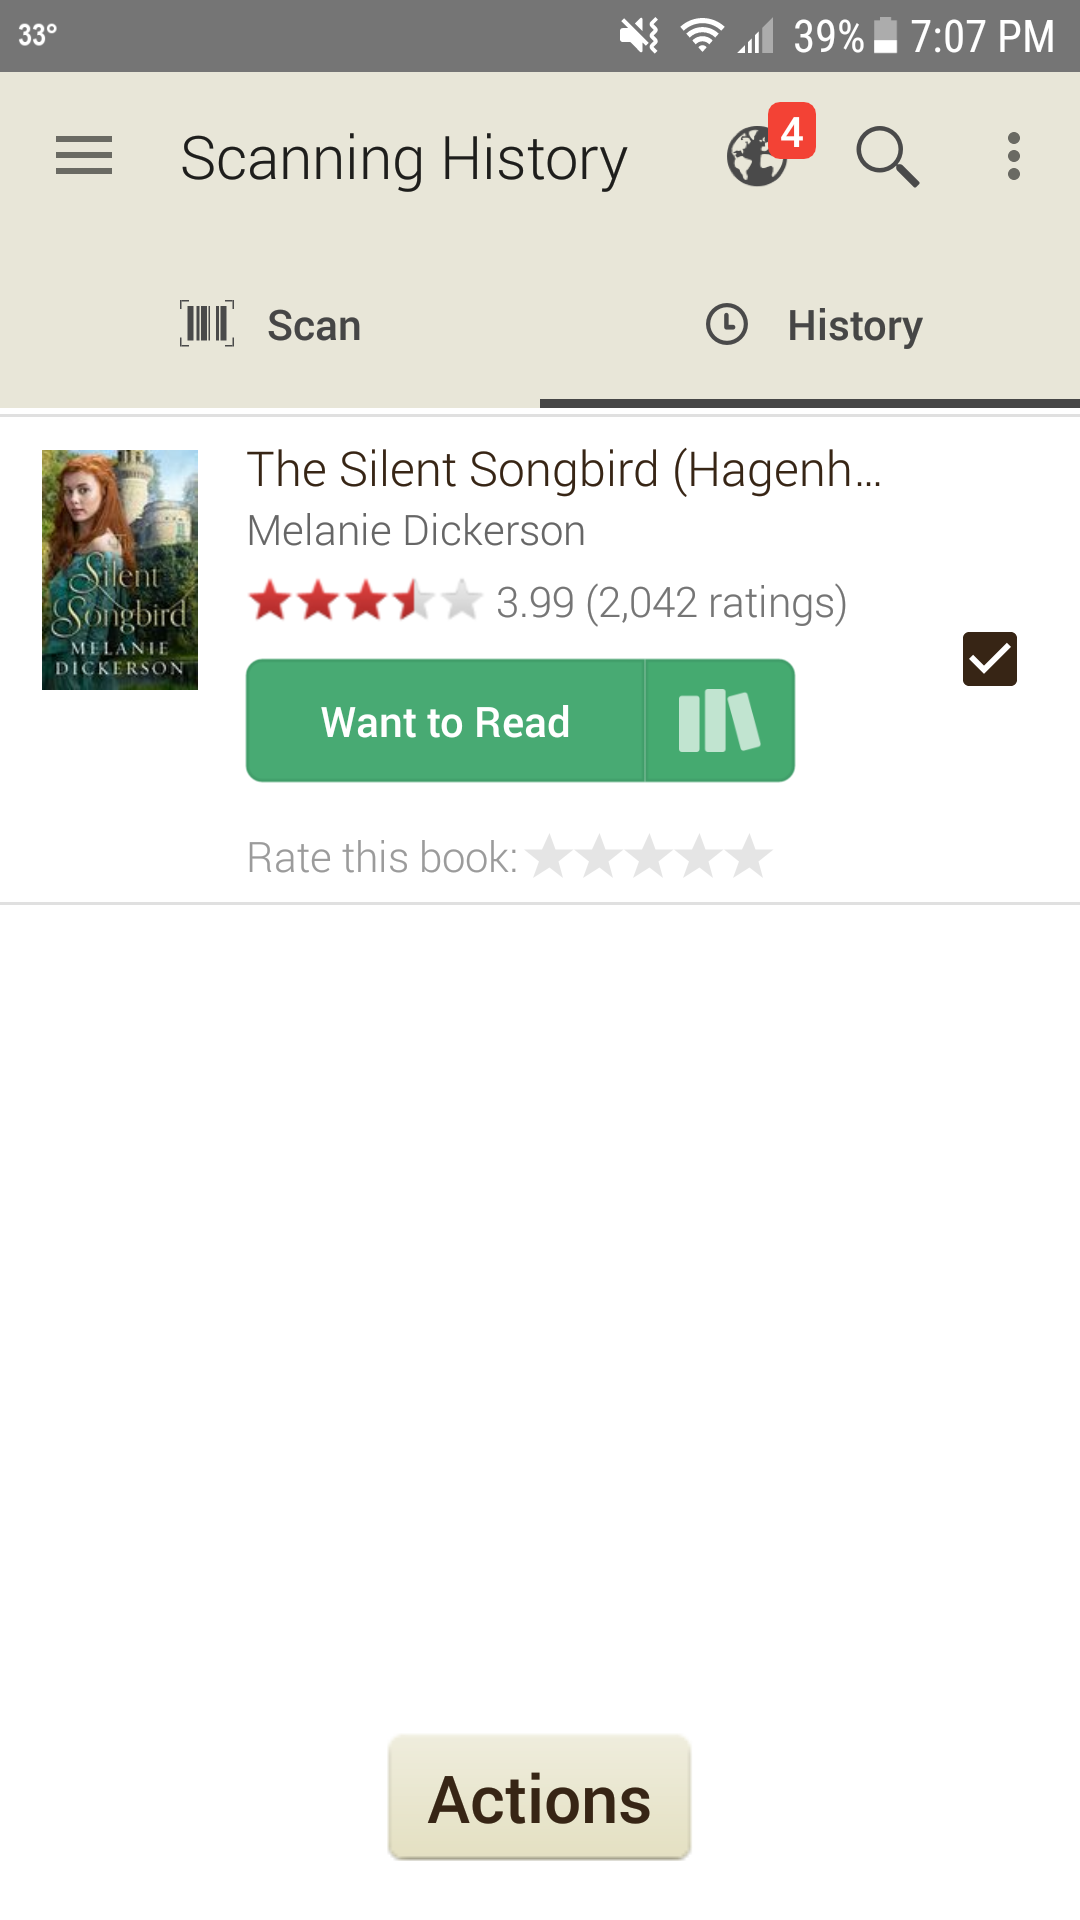
After you've completed scanning all of your books click over to the "History" tab with the clock (to the right of "Scan"). All of the books you've scanned will be listed here. Now click the upper right hand three dotted menu and continue to Step 11 below.

Step 11
Click the "Select All" option.
Step 11 (cont'd.)
There should be a check mark next to each of the books on your list. Now click the tan button labeled "Actions" located at the bottom of your screen.

Step 12
You're ready to shelve these babies! Click "ADD TO SHELF".

Step 12 (cont'd.)
Click the appropriate shelf you'd like to place all the books in then wait for the app to load the shelving. Then you're done!
Note: I recommend doing your "shelving" in spurts to avoid the app taking too long to load. I had a large list the first time I tried this and it took awhile to shelve them. Plus, I had a fear of it not saving that many books at once so just to be on the safe side I recommend doing it this way! I also clear history after each of my sessions or spurts to avoid confusion and double shelving.
Now aren't you excited to catalog your books? Technology is amazing! It's pretty awesome because now when you're out book shopping all you have to do is look up your bookshelves to see if you already own a book (to prevent double buying - oye!) or to look up books you were interested in buying or checking out from the library without forgetting! :) Not to mention, now you can digitally organize your books by genre! 😱 What a lifesaver!
Let me know in the comments - Do you have any other helpworthy cataloging tips and tricks?

